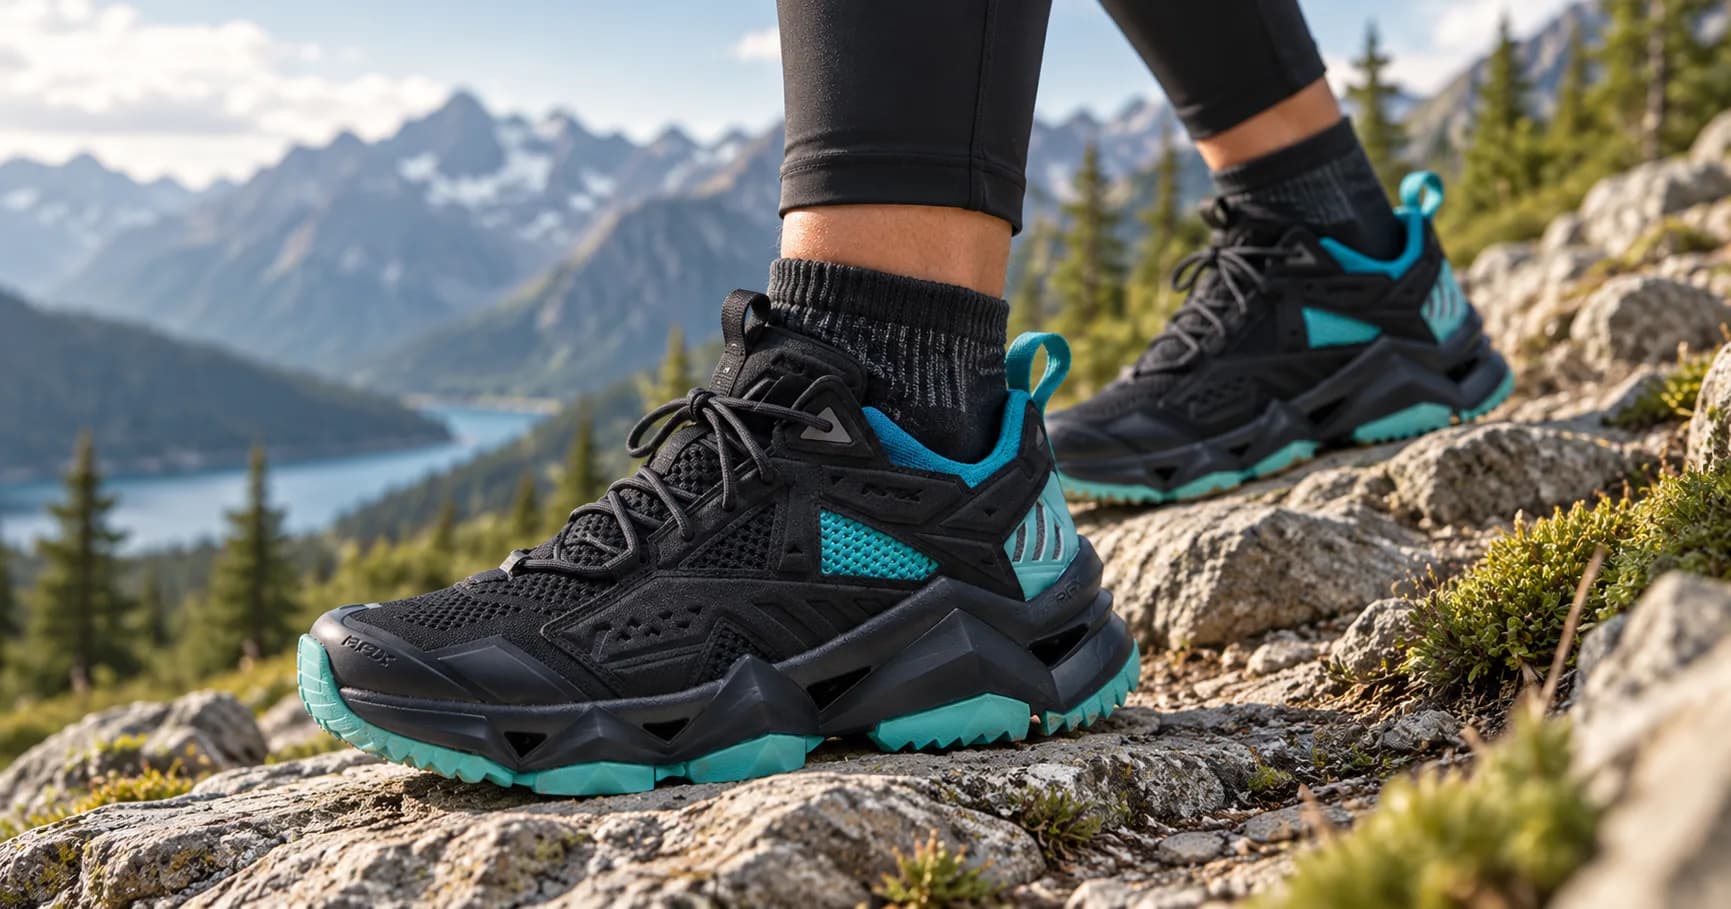
A hiking shoe should feel secure around the heel and midfoot without squeezing, while leaving enough space at the front for your toes to move and for your feet to swell during a hike. Your longest toe should not touch the front of the shoe when standing, walking or moving downhill.
A useful starting point is roughly a thumb's width, or about 1 cm, between your longest toe and the front of the shoe. Your heel should stay planted rather than lifting with every step, and there should be no pinching, rubbing, numbness or obvious pressure across the forefoot.
The goal is not a shoe that feels tight. It is a shoe that holds the foot securely while giving the toes enough room to work.
The hiking shoe fit test in 30 seconds
| Area | A good fit feels like | A poor fit feels like |
|---|---|---|
| Toes | Room to wiggle and spread, with clearance in front | Toes touching the front or being squeezed together |
| Forefoot | Held comfortably without pressure at the sides | Pinching, bulging over the sole or numbness |
| Midfoot | Secure when laced without needing excessive lace tension | Foot sliding sideways or pressure across the top of the foot |
| Heel | Stable and seated in the heel cup | Repeated lifting, rubbing or slipping |
| Downhill | Toes remain clear of the front | Toes strike the toe box as the foot moves forward |
How much room should you have in front of your toes?
For most hiking shoes, you want approximately a thumb's width of space between your longest toe and the end of the shoe.
This is not empty space for the sake of wearing a bigger shoe. It gives your foot room for two things that happen while hiking:
- the foot can lengthen slightly under load while walking;
- feet often swell as the day and hike progress.
The extra clearance also becomes important on descents. When you walk downhill, your foot tends to move forward inside the shoe. If the shoe is already touching your longest toe on flat ground, the toe can repeatedly hit the front on a descent.
REI recommends roughly a thumb's width between the longest toe and the end of the insole, while Guy's and St Thomas' NHS podiatry guidance recommends about 1 cm of space. Both are useful practical checks rather than millimetre-perfect sizing rules.
Your longest toe is not always your big toe
Check from whichever toe actually extends farthest forward. For some people that is the big toe. For others it is the second toe.
A shoe can therefore look long enough from the outside and still be too short for your foot shape.
Your toes should be able to move
Length alone does not make a hiking shoe fit properly. The toe box also needs enough width and depth.
You should be able to wiggle your toes without one toe being pushed into another. The sides of your forefoot should not feel compressed, and the upper should not press down on the tops of your toes.
AAOS guidance specifically advises against footwear that pinches or cramps the toes and recommends choosing a toe box that follows the shape of the foot rather than forcing the foot into the shape of the shoe.
This matters because a shoe can be the correct length but still be the wrong shape.
Do not solve a narrow toe box by automatically buying a much longer shoe
If the length is correct but your forefoot is squeezed, moving up a full size can create a different problem: excess length and heel movement.
A wider model, a different last, or a shoe with more forefoot volume may fit better than simply making the shoe longer.
Different footwear brands and even different models within the same brand can fit differently. Shoe size should therefore be treated as a starting point, not as proof of fit.
How should the heel fit?
Your heel should sit securely in the heel cup and should not repeatedly slide upward as you walk.
A small change in how the collar flexes around your ankle can feel like movement, particularly in a new shoe, but the heel itself should not be lifting enough to rub.
Repeated heel slip is one of the clearest signs that either:
- the shoe has too much internal volume;
- the heel shape does not suit your foot;
- the shoe is too large;
- or the lacing is not securing your heel properly.
KEEN recommends checking heel movement by walking, climbing stairs and changing foot angles. Salomon similarly advises that a properly laced hiking shoe should hold the heel without slipping.
The midfoot should feel snug, not compressed
The middle of the shoe is where laces do much of their work.
When the shoe is laced normally, your foot should feel held in place without needing to pull the laces as hard as possible.
You should not feel:
- sharp pressure across the instep;
- numbness;
- tingling;
- a hard lace biting into the top of your foot;
- or the foot sliding from side to side.
If the shoe feels loose even when the laces are pulled very tight, the internal volume may be too high for your foot. If your instep feels crushed before the foot is secure, the shoe may be too shallow.
Lacing can fine-tune a good fit. It cannot turn the wrong shoe shape into the right one.
The downhill test matters more than standing still
A hiking shoe can feel fine in front of a mirror and fail as soon as the trail points downhill.
After lacing the shoes, walk down an incline if possible. Many outdoor stores have a sloped fitting surface, but stairs or an indoor incline can also reveal obvious problems.
Pay attention to two things.
Do your toes hit the front? If they do, the shoe may be too short or your foot may be sliding forward inside it.
Does your heel lift? If the heel moves excessively while climbing or descending, the shoe may have too much volume or may not match your heel shape.
KEEN specifically recommends a downhill or incline test because front-of-shoe contact is easier to detect when the foot is loaded forward.
Should hiking shoes feel tight when new?
No. A hiking shoe should feel secure when new, but it should not depend on painful pressure disappearing later.
Stiffer hiking boots can soften and flex more naturally after they have been worn, and REI recommends breaking in more substantial hiking and backpacking boots before a long trip.
That is different from expecting an incorrectly sized shoe to become correct.
Do not rely on break-in to fix:
- toes hitting the front;
- a toe box that is clearly too narrow;
- numbness;
- strong pressure points;
- or a heel that continually slips.
AAOS advises against buying shoes that do not fit in the expectation that a break-in period will solve the problem.
A boot can become more flexible. Your shoe cannot become longer.
Try hiking shoes on later in the day
Feet are not exactly the same size throughout the day. Walking, standing and heat can increase foot volume, which is one reason a shoe that feels generous in the morning can feel much tighter several hours into a hike.
REI, Salomon and KEEN all recommend trying hiking footwear later in the day, when your feet are closer to the size they may reach after being active.
If possible, do your fitting in the afternoon or evening rather than immediately after waking.
Wear the socks you will actually hike in
Socks take up space inside the shoe.
If you normally hike in a medium-weight hiking sock, fitting the shoe while wearing a thin everyday sock can give you a misleading amount of room. The reverse can also happen if you fit with an unusually thick sock that you will never actually wear on the trail.
Bring the same type and thickness of sock you expect to use.
If you use custom orthotics or replacement insoles, fit the shoe with those installed as well. REI specifically recommends bringing orthotics when trying on hiking footwear because they can materially change internal volume and fit.
Fit both feet, not just one
It is common for one foot to be slightly longer or wider than the other.
Try on both shoes and fit the pair to the larger foot. Bradford District Care NHS guidance specifically recommends fitting footwear to the larger foot rather than assuming both feet require exactly the same space.
If the difference is substantial, changing the insole or adjusting the lacing on the smaller foot may work better than forcing the larger foot into a shoe that is too short.
A simple at-home fit check
If you have ordered hiking shoes online, keep them clean and test them indoors before taking them outside.
- Put on your normal hiking socks.
- Insert any orthotics or aftermarket insoles you normally use.
- Stand up fully before judging length.
- Check that your longest toe has front clearance.
- Wiggle and spread your toes.
- Lace the shoe normally.
- Walk for at least several minutes.
- Go up and down stairs.
- Test a safe incline if available.
- Pay attention to heel lift, toe contact, side pressure and hot spots.
REI also suggests removing the insole and standing on it as a simple length check. There should be roughly a thumb's width between the longest toe and the end.
This is a useful check, but the insole cannot tell you everything about internal volume, upper shape or heel hold. Walking in the fully assembled shoe still matters.
Signs your hiking shoes are too small
The shoe is probably too small, too narrow or too shallow if:
- your longest toe touches the front while standing;
- your toes strike the front going downhill;
- you cannot comfortably wiggle your toes;
- your forefoot feels squeezed from the sides;
- the tops of your toes rub the upper;
- your foot becomes numb or tingles;
- or obvious pressure points appear within a few minutes.
Do not assume that all of these problems will disappear with use.
Signs your hiking shoes are too large
A shoe may be too large or too high-volume if:
- your heel repeatedly lifts;
- your foot slides forward on descents;
- your foot moves noticeably from side to side;
- you need to overtighten the laces to feel secure;
- or the shoe folds and moves around your foot rather than with it.
Blisters can be caused by footwear that is either too loose or too tight, because both situations can increase friction or pressure.
Should you size up for hiking shoes?
Do not automatically buy hiking shoes one full size larger than your normal footwear.
Your everyday shoe size is useful as a starting point, but the correct hiking size depends on:
- your measured foot length;
- foot width;
- toe shape;
- instep volume;
- the shoe's last;
- sock thickness;
- and the brand's sizing.
If you fall between sizes, choosing the larger option can make sense when the smaller one does not provide adequate toe clearance. Salomon specifically recommends considering the larger size when between sizes because feet swell during hiking.
That is very different from a rule that everyone should size up one.
How should RAX hiking shoes fit?
RAX sizing should also be checked model by model rather than assuming every shoe fits identically.
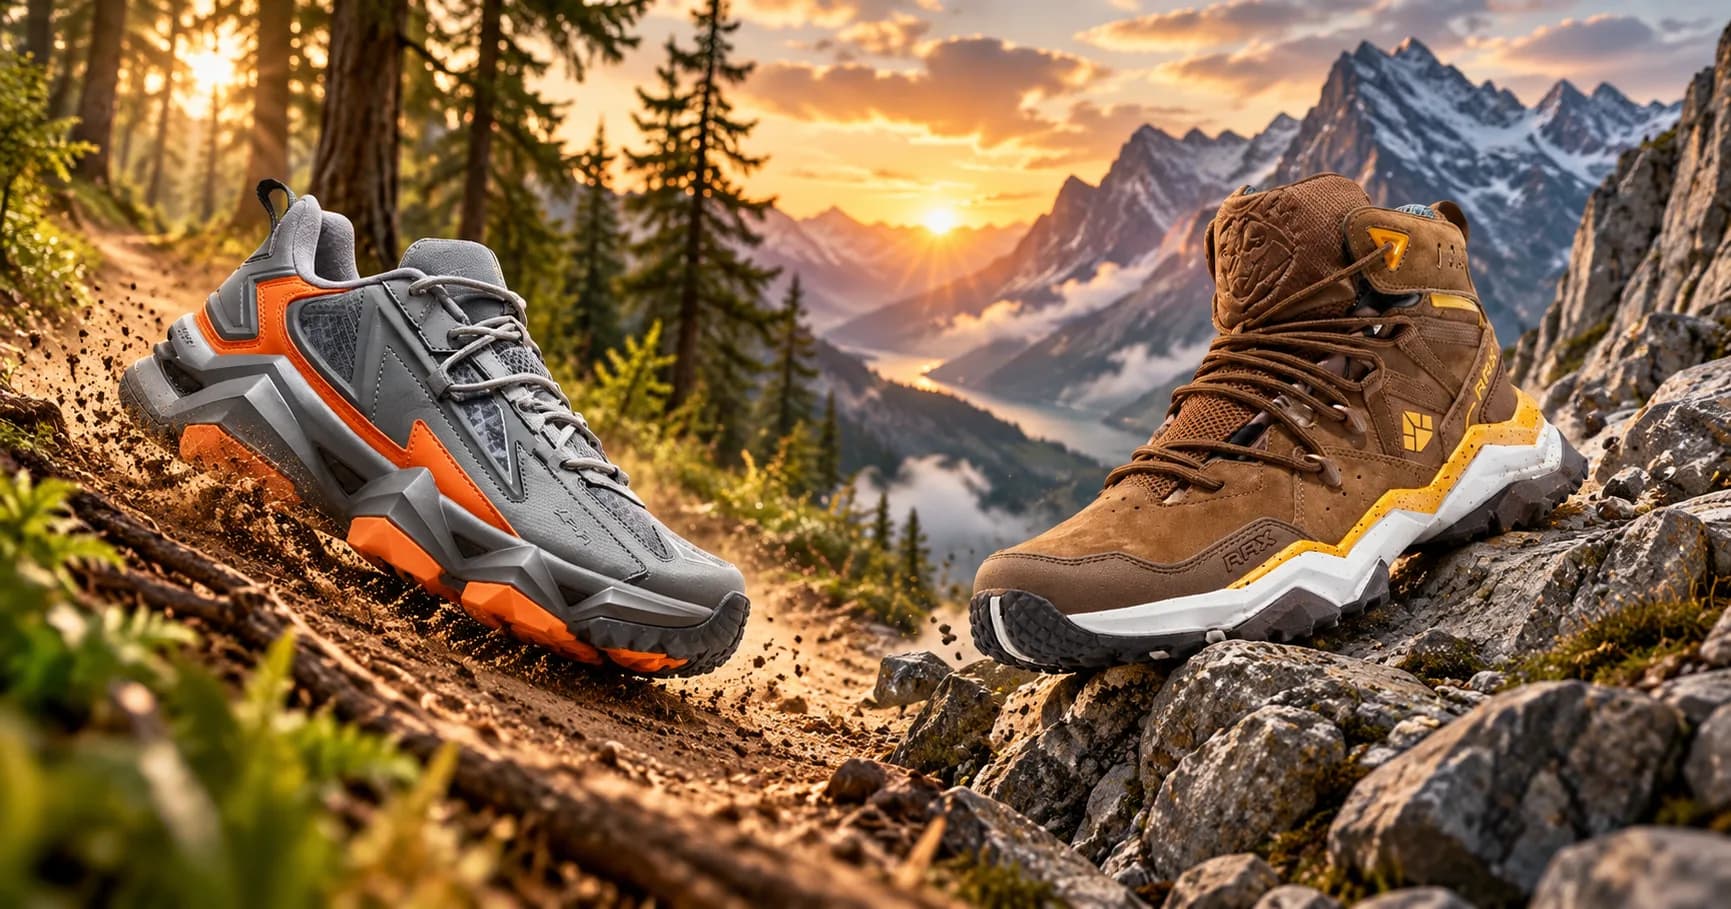
The RAX Blazer Hiking is listed as true to size and runs from EU 39 to 46. The All in One is a mid-cut waterproof boot, also true to size, running from EU 39 to 47, and the Aqua Upstreams is a draining water shoe from EU 36 to 46. They are all true to size and they are not the same shoe: different uppers, different closures and different amounts of water protection, which is exactly why the size chart sits on each product page rather than on the category.
If a RAX model provides its own fit note or foot-length guidance, use that information together with the size chart rather than applying a blanket size-up rule across the brand.
The final check is still physical fit: enough room in front of the toes, no forefoot pinching, a secure midfoot and a heel that stays in place while walking uphill and downhill.
Reading a RAX size
The numbers on RAX shoes are EU sizes, and the size chart converts them to US and CHN along with the foot length in centimetres. Measure your foot rather than guessing from a size you own in another brand, and read the fit notes on the product page before you choose. Stock is held per size and per color, so a color appearing on the page does not mean every size in it is available; the product page shows what can actually be added to the cart, and that is the number to trust.
The fit you want on the trail
A properly fitted hiking shoe should almost disappear once you start walking. You should not be thinking about your toes hitting the front, your heel rubbing or how tightly you need to pull the laces.
Leave enough room for the toes and normal swelling, but keep the heel and midfoot controlled. Test the shoe with your real hiking socks, later in the day, on both feet, and on an incline before deciding that the size is right.
If the length is correct but the shoe still pinches or slips, look at a different width, volume or model rather than trying to force the wrong shape to fit your foot.
Comments
No comments yet.